
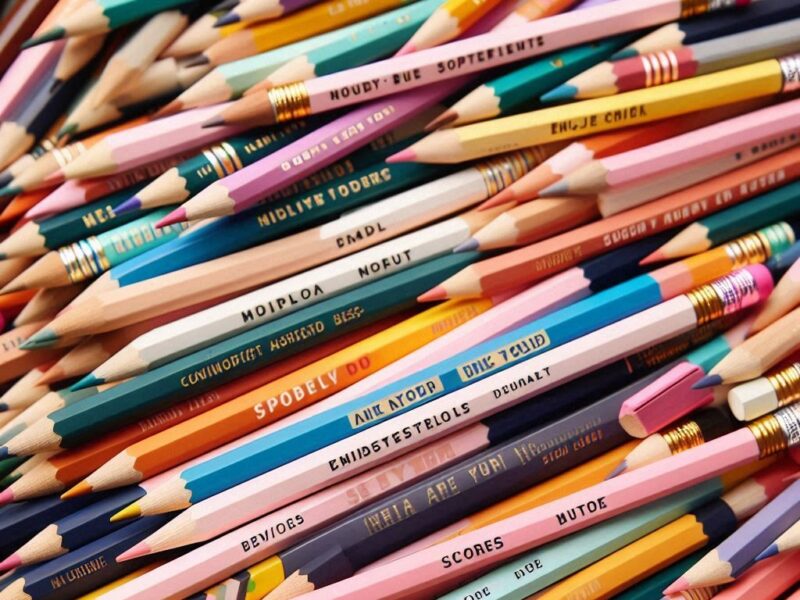
How Colored Pencils Are Made for Art Students
Colored pencils are more than just tools for sketching—they are precision instruments that blend art and science. For art students, understanding how these pencils are made can help in selecting the right materials for their creative work. From the choice of pigments to the crafting of the wooden casing, each step in the manufacturing process influences how well a colored pencil performs. Let’s take a deep dive into the fascinating world behind how colored pencils are made, and why that matters to aspiring artists.
Why Colored Pencil Quality Matters for Art Students
Art students rely on colored pencils for a wide range of techniques—layering, shading, burnishing, and fine detailing. The quality of these tools directly impacts the outcome of their work. A pencil that breaks easily or produces dull color can disrupt the creative process. That’s why understanding the materials and craftsmanship behind colored pencils is essential for students who want to elevate their art.
Unlike graphite pencils, colored pencils contain a core made of pigments mixed with a binder—typically wax or oil—rather than graphite or clay. This unique composition allows for rich, blendable colors and varying degrees of hardness. The difference in core formulation is what gives colored pencils their versatility and expressive potential, particularly important for those studying fine arts.
From Forest to Studio: The Anatomy of a Colored Pencil
Each colored pencil is composed of three main components:
| Component | Function |
|---|---|
| Core (Lead) | Contains pigment and binder; responsible for color and application |
| Wood Casing | Encases the core and provides structure and grip |
| Outer Finish | Protects the pencil and often indicates the color |
Let’s explore how each of these components is made and assembled to create a pencil that meets the needs of art students around the world.
Step 1: Selecting the Wood – The Foundation of Precision
High-quality colored pencils start with high-quality wood. Manufacturers like Faber-Castell use sustainably sourced cedar wood because of its fine grain, softness, and ease of sharpening. The wood must be stable and resistant to warping. Planks are cut into thin slats, then dried and conditioned to prevent cracking during later stages.
According to Faber-Castell’s manufacturing insights, this wood selection process is critical. Inferior woods can splinter or cause the core to break during sharpening, which is frustrating for students working on detailed projects.
Step 2: Creating the Core – The Heart of the Pencil
The core—or “lead,” though it contains no actual lead—is where the magic happens. This is the colored part that transfers pigment to paper. The formula for the core typically includes:
- Finely ground pigments for color
- Binders such as wax or oil to hold the pigment together
- Fillers like kaolin clay or talc to adjust texture and hardness
The quality of pigments determines vibrancy and lightfastness. For art students, this means the difference between a piece that fades over time and one that remains vivid. Wax-based cores are softer and blend easily, ideal for layering. Oil-based cores, on the other hand, are firmer and allow for more detailed work without smudging.
As explained in the Comprehensive Guide to Pencils by Alabama Art, the binder type affects not only the feel of the pencil but also how it interacts with different paper textures. Knowing this helps students choose the right pencil for their technique.
Step 3: Extruding and Drying the Core
Once mixed, the core material is extruded into long, thin strands—similar to spaghetti. These strands are then dried or baked to remove moisture and harden the material. The drying process must be carefully controlled to prevent cracking or shrinking, which would compromise the pencil’s integrity.
For oil-based cores, the drying process can be longer and more complex due to the need for stabilizing the oil content. This step is often overlooked but is essential for ensuring the pencil performs consistently over time.
Step 4: Encasing the Core – Joining Craft and Engineering
The dried cores are placed into grooved wooden slats. A second slat is glued on top, sandwiching the core in between. This “pencil sandwich” is then pressed and allowed to dry. The result is a long rectangular block known as a pencil stick.
Precision is key here. If the core isn’t centered correctly, the pencil will sharpen unevenly—an annoyance for any student trying to maintain a fine point. Top manufacturers use automated systems with micrometer accuracy to align the core perfectly within the casing.
Step 5: Shaping, Lacquering, and Labeling
Once the pencil stick is dry, it’s cut into individual pencils and shaped—typically into a round, hexagonal, or triangular profile. Each shape offers different ergonomic benefits. For example, triangular pencils are often recommended for younger students for better grip.
The pencils are then sanded smooth and coated with multiple layers of lacquer. This not only gives them a polished appearance but also protects the wood from moisture and wear. Finally, the color name, brand, and other details are stamped or printed onto the pencil body.
Step 6: Quality Control – Ensuring Consistency and Performance
Before packaging, colored pencils go through rigorous quality checks. These include:
- Color consistency tests
- Breakage resistance of the core
- Sharpening behavior
- Application smoothness
According to Luuk Minkman’s breakdown of pencil manufacturing, even the final packaging is designed to protect the pencils from humidity and impact during transport. This attention to detail ensures that art students receive tools that are ready for immediate and reliable use.
Wax vs. Oil-Based Colored Pencils: What Should Students Choose?
One of the most important decisions for art students is whether to use wax-based or oil-based colored pencils. Each has unique characteristics suited to different styles and techniques:
| Type | Pros | Cons |
|---|---|---|
| Wax-Based | Soft, blendable, widely available, ideal for layering | Prone to wax bloom (a white haze), softer tips may break |
| Oil-Based | Harder core, great for detail, less smudging | More expensive, harder to blend without solvent |
For beginners, wax-based pencils offer a forgiving medium to explore color theory and layering. Advanced students may prefer oil-based pencils for their precision and durability.
Environmental and Ethical Considerations
Modern manufacturers are increasingly focused on sustainability. Leading brands use FSC-certified wood and non-toxic pigments. Some have even implemented closed-loop water systems and renewable energy in their factories. Students who are environmentally conscious can look for these certifications when choosing their materials.
Faber-Castell, for example, manages its own forests and has been carbon-neutral for several years. These practices not only reduce environmental impact but also set a standard for ethical manufacturing in the art supply industry.
Conclusion: Why the Making of Colored Pencils Matters
For art students, the journey of a colored pencil—from raw pigment to final product—is more than a manufacturing story. It’s a blueprint for quality, performance, and artistic potential. Understanding how colored pencils are made empowers students to make informed choices about their tools, leading to better outcomes in their creative work.
Whether you’re just starting out or refining your technique, knowing what goes into your materials can deepen your appreciation and sharpen your skills. The next time you pick up a colored pencil, remember the craftsmanship and science that make each stroke possible.